Higher accuracy
Automated visual inspections of weld seams are more accurate than manual inspections. By using cameras and image processing systems, even small defects or faults in weld seams can be detected quickly and precisely.
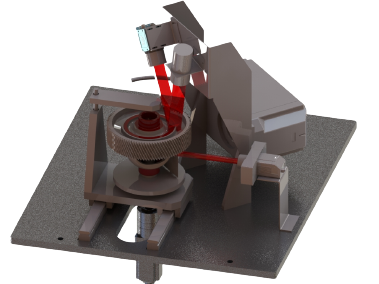
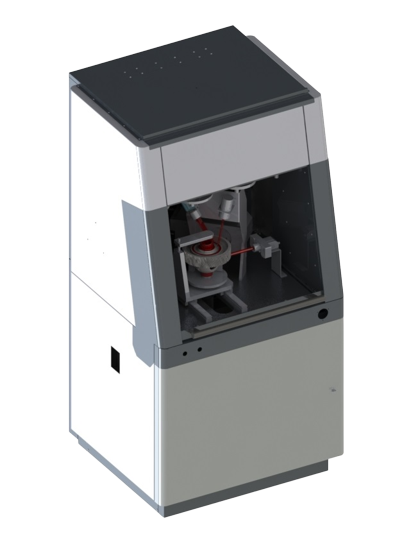
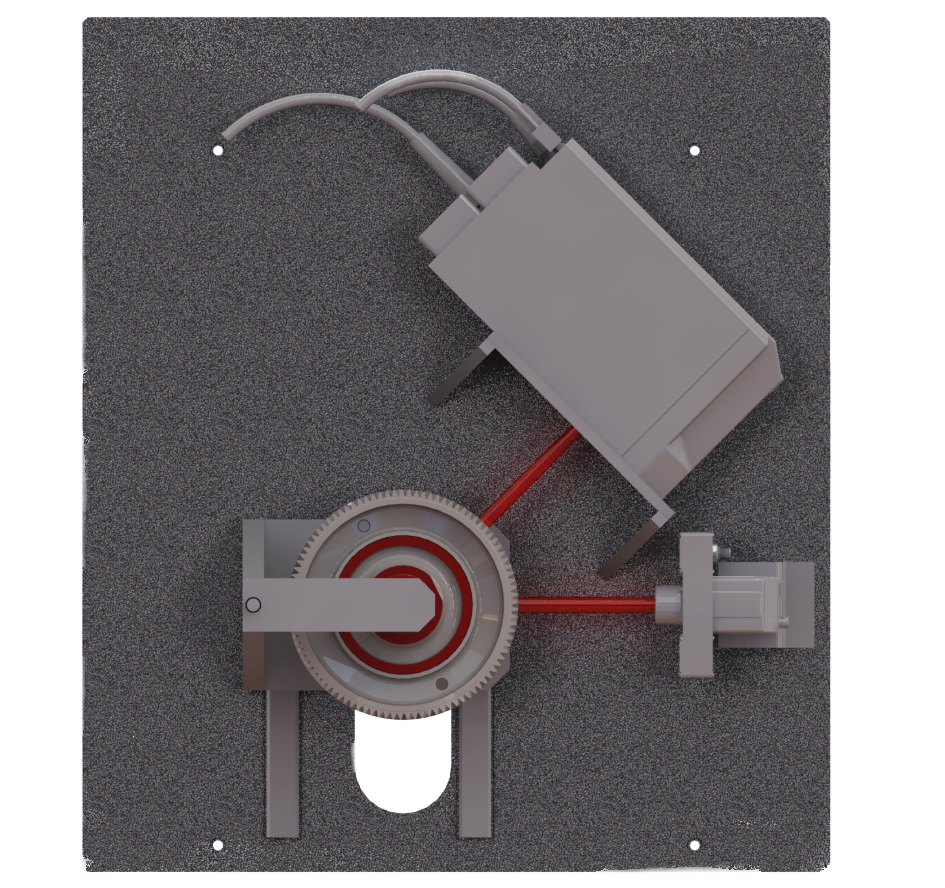
Optical 360° completeness check of weld seams & spot welds
We can also support you with solutions for the optical inspection of weld seams.
Test sequence:
The component is placed in the test station and the optical 360° weld seam test is started. The test is performed using a 3D triangulation method. Once the visual weld seam inspection has been completed, a data matrix code is applied to the component using the laser marking unit. If the result is NOK, plain text is applied. After applying the DMC, the quality of the code is checked with the codereader unit. (According to the standard ISO29158 AIM DPM)
Keyfacts:


In the field of welding technology, there are a variety of test methods that are used to assess the quality of weld seams. In principle, a distinction is made between destructive and non-destructive tests. In the course of destructive testing, a sample of the weld metal is taken to examine its quality. However, this method is time-consuming and can compromise the integrity of the component.
Thanks to our many years of experience in the field of industrial image processing, we can offer you automated solutions in the field of non-destructive visual inspection. This type of test is not only very accurate, but also fast and efficient, as it enables immediate feedback without delay.
At AUTFORCE, we specialize in testing systems & industrial software . Get in touch with us. Together we will find the best solution for your project!
Christian Hanbauer
Expert Test Systems
+43 (664) 88 71 02 50
[email protected]
Get a non-binding initial assessment now: