Space-saving
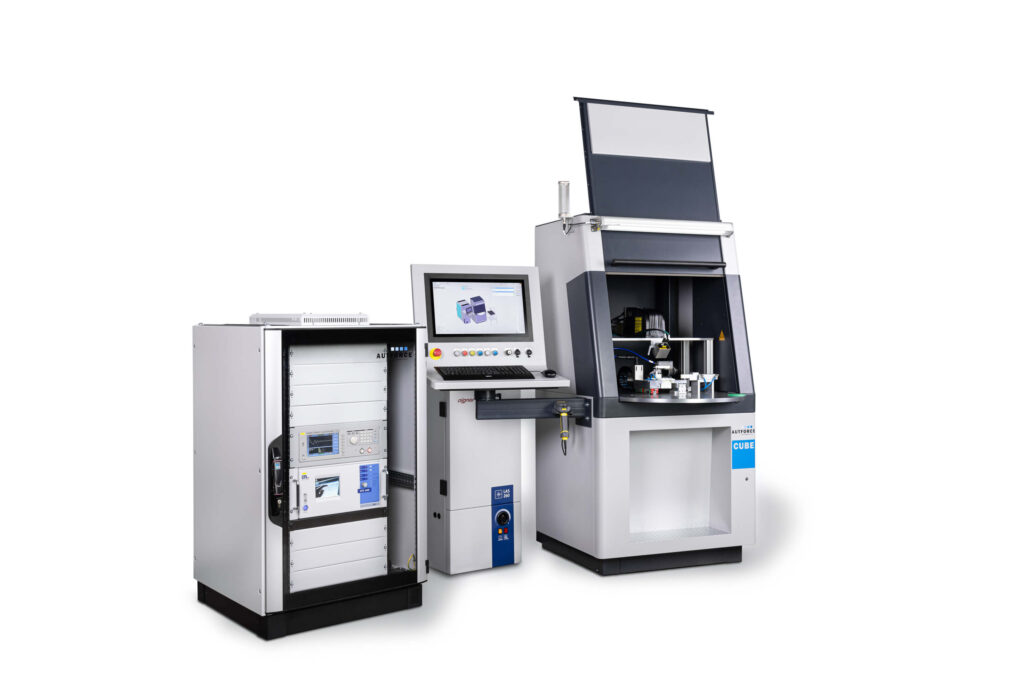
By performing two measurements in only one CUBE, our customer saves on the one hand the costs, but also the space for the installation area of a second device.
AUTFORCE inspection and testing stations
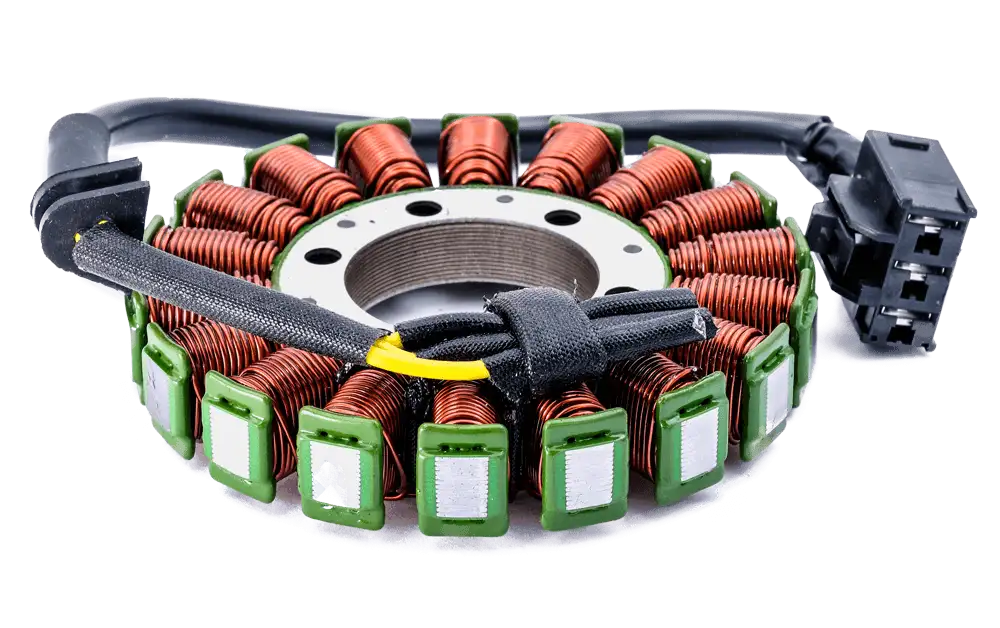
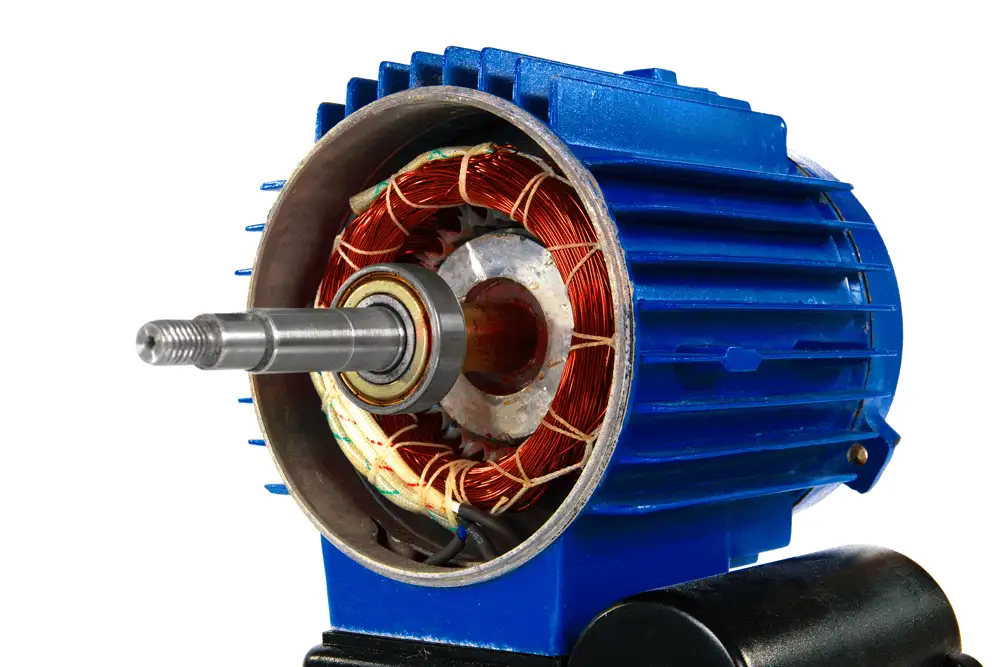
Another CUBE has left our assembly hall and is now being used by our customer for electrical testing and laser marking of motor coils.
The advantages of our modular testing stations have become especially noticeable in this project. In the spirit of sustainability, two work steps are carried out in just one CUBE. This not only saves material and money, but also minimizes the space required for the work processes.

By performing two measurements in only one CUBE, our customer saves on the one hand the costs, but also the space for the installation area of a second device.
The ergonomic design provides an optimal workplace.

Vacuuming in advance speeds up the process of oil filling.

The automatic rejection of NIO parts minimizes the error rate of your production.
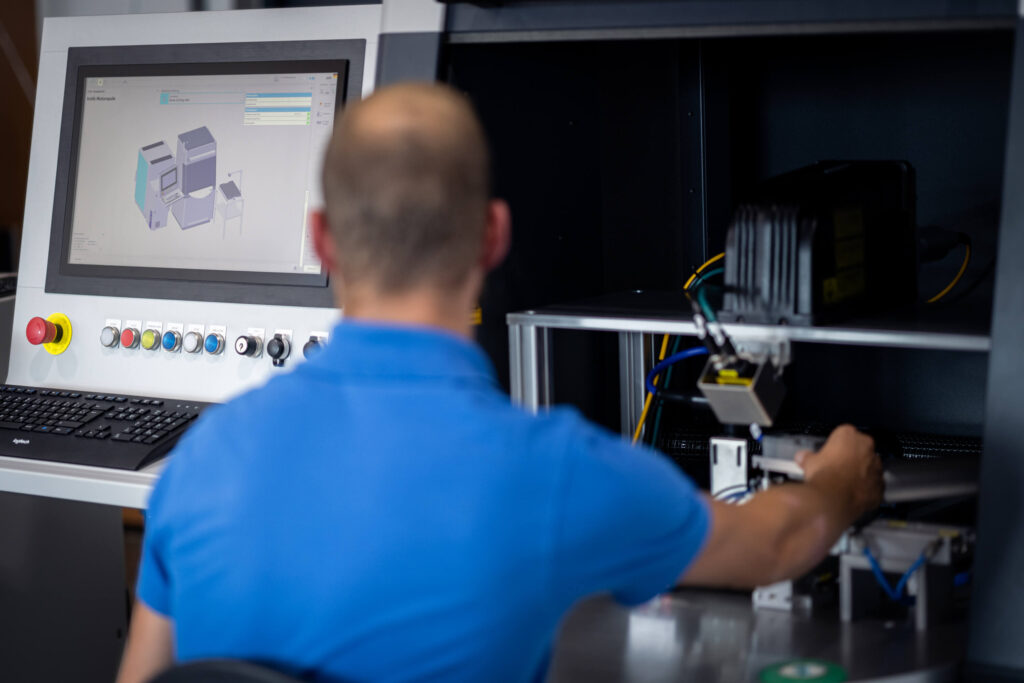
The barcode on the route card is captured by an operator using a hand-held scanner. The test program is loaded automatically and the operator can now insert the component into the CUBE.
A vision sensor is used to check if the component has already been lasered. If no mark was detected, the coil is moved to the second position.
At the second position, an electrotechnical test for high voltage and winding short circuit is performed. Sind die Testergebnisse validiert, bekommt das Bauteil entweder eine Seriennummer und eine OK–Lasermarkierung oder der Fehlercode der NOK-Messung wird markiert.
Nach der Prüfung werden die Bauteile erneut auf der Prüfposition eins positioniert. Ein Vision-Sensor überprüft die Lasermarkierung. Wenn das Bauteil nicht in Ordnung war, werden die Spulenenden mit einem pneumatischen Zylinder verbogen. Das Bauteil passt somit nicht mehr in die vorgesehene Ablage der IO-Teile und kann nicht versehentlich wieder in den Prozess eingeschleust werden.
Nach beendetem Prozess öffnet sich das Automatiktor und das Bauteil kann entnommen werden. Bei einer IO-Markierung, kann dieses in das Ablagetray gelegt werden. Mit der Betätigung des Starttasters überprüft ein zweiter Vision-Sensor die Befüllung des IO-Trays. Sobald 18 Bauteile im Tray sind, öffnet sich ein pneumatischer Stopper und das volle Ablagetray wird über eine Rollenbahn durch ein leeres ersetzt.
At AUTFORCE, we specialise in testing systems and industrial software. Get in touch with us. Together we will find the best solution for your project!
Christian Hanbauer
Expert Test Systems
+43 (664) 88 71 02 50
[email protected]
Get a non-binding initial assessment now: