100% non-contact testing
No mechanical interference or damage to the parts.
Fully automatic quality inspection of small parts in free fall
When many different small parts need to be inspected, conventional systems quickly reach their limits. Manual visual inspections are prone to errors, contact measurements are too slow, and complex workpiece handling drives up costs. The result: unclear inspection quality, high costs, and limited cost-effectiveness.
The free-fall testing system solves these challenges with a completely new approach. Small parts are fed in as bulk material, fall freely through the system, and are inspected on all sides using high-resolution cameras and precise sensor technology—without any mechanical contact. Each part is analyzed and evaluated in free fall and automatically sorted into OK or NOK.
This results in contactless, fast, and component-independent quality control that can be flexibly integrated into any production process and ensures reliable results even with a high degree of variant diversity.
Contact us
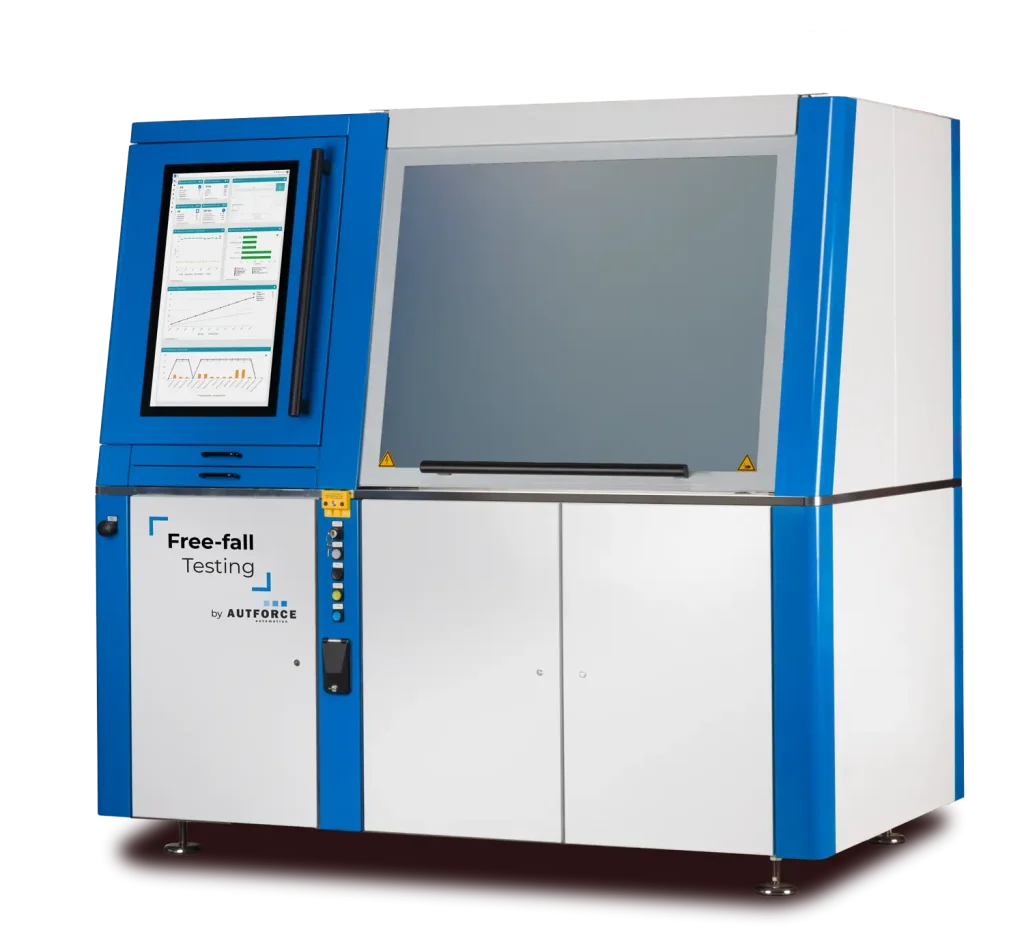
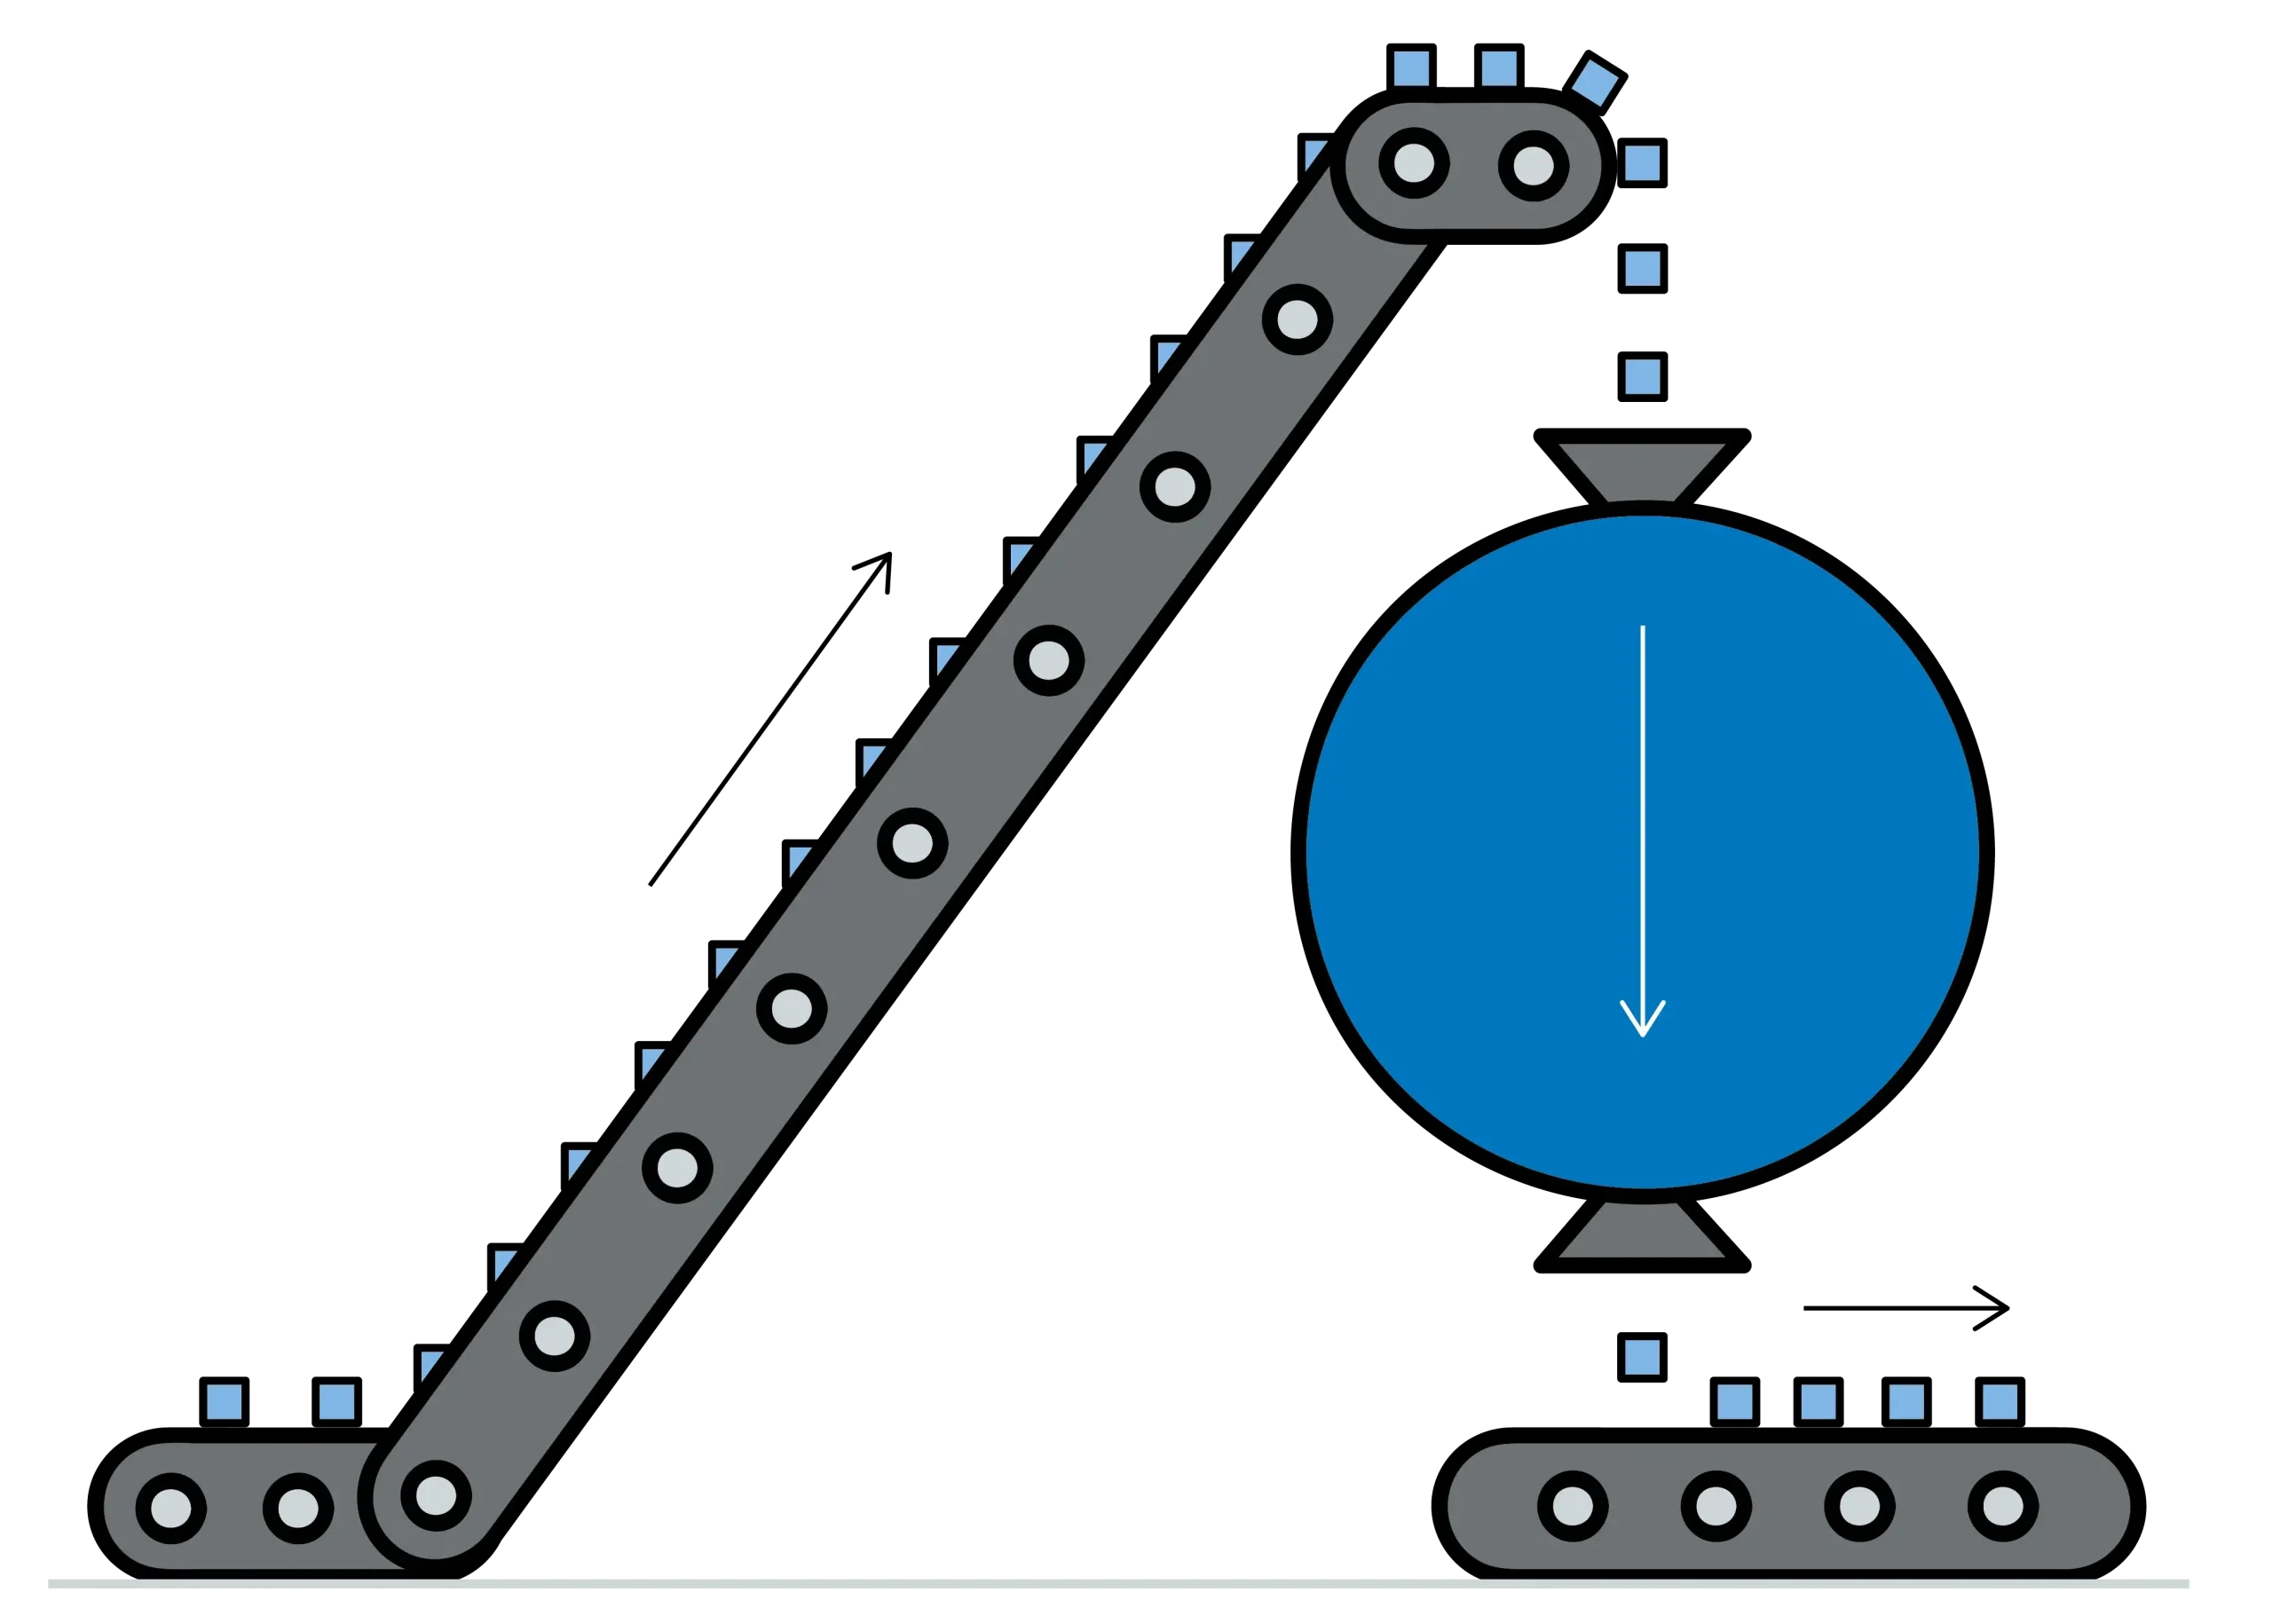
Available as a stand-alone testing system or as an inline quality control system.
Detect:
– Contaminants
– Surface defects
– Dimensional deviations
in free fall
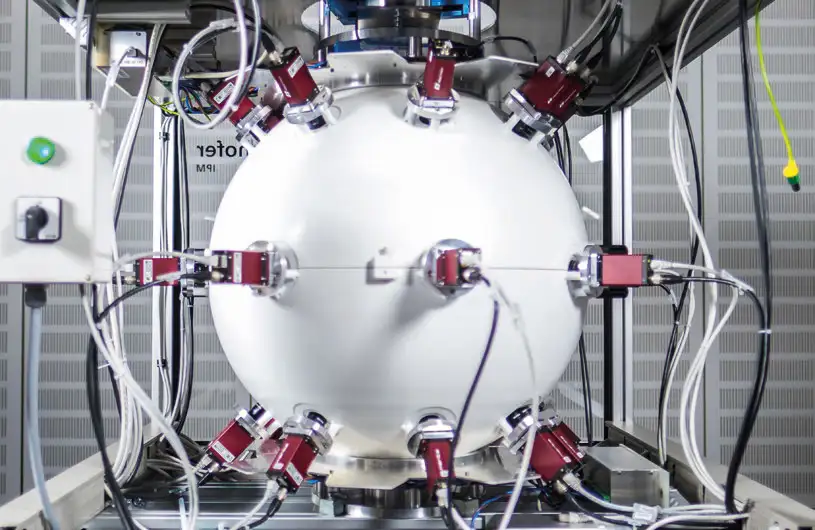
The system captures components in free fall from all sides using multiple cameras. This ensures that your components are captured 100% in a single recording process.
The motto: fast, flexible, and precise!
The testing system is ideal for various applications in industrial quality control: for components ranging in size from dice to fist-sized.
Ideal for:
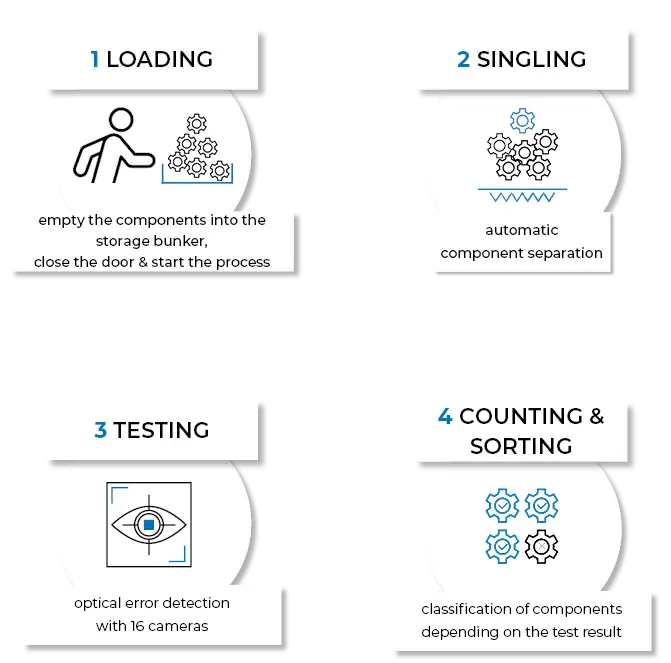
The inspection process is fully automated and enables fast, precise, and contactless quality control of small parts.
Loading
The first step is to fill the storage bunker with the components. Once the door is closed, the process starts – quickly, easily, and without any complicated preparation.
Separation
The components are separated automatically. This ensures that the parts enter the testing area individually, which guarantees precise detection and evaluation of each individual component.
Testing
During the free fall, 16 high-resolution cameras capture every component from all angles. Optical defect detection reliably identifies surface defects, dimensional deviations, and shape errors, completely contact-free and independent of component geometry or material.
Counting & Sorting
Immediately after inspection, the components are automatically classified according to the inspection result as OK or NOK (not OK). At the same time, the inspected parts are counted and sorted for complete documentation and efficient further processing.


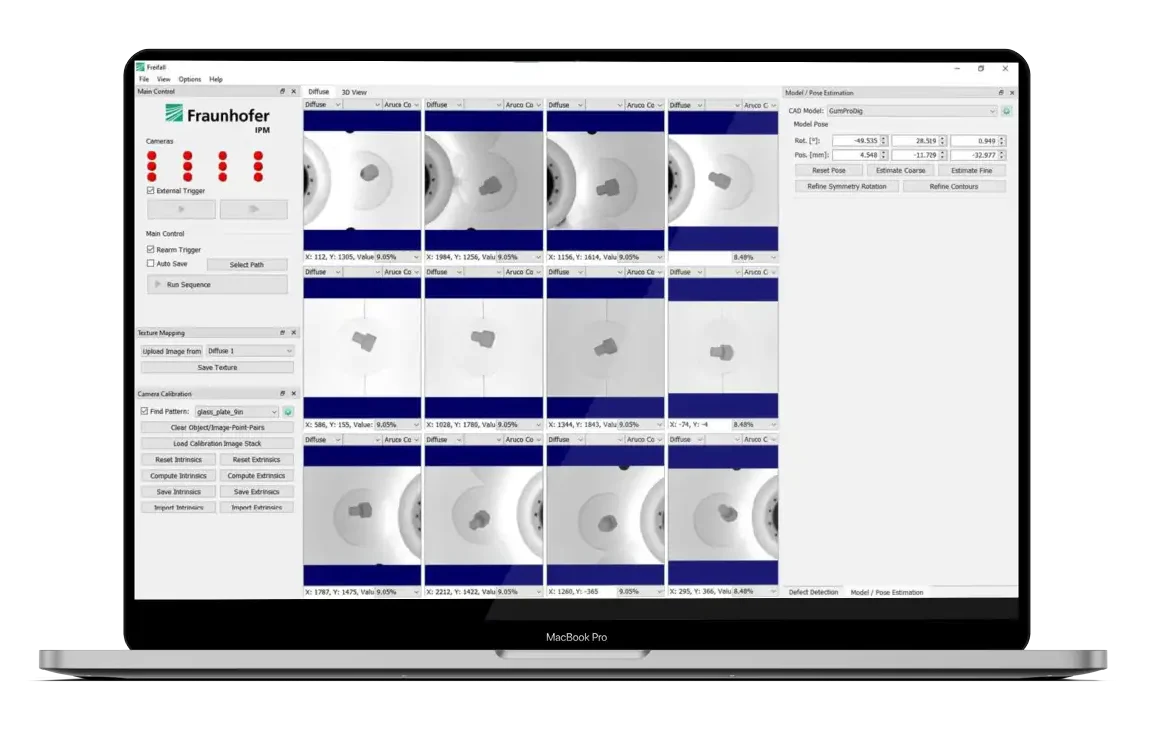
Dimensional accuracy testing
The geometry of each component is checked in real time: 2D images taken from different angles are automatically linked to the stored CAD model. This creates a precise digital image that allows even the smallest deviations in shape and dimensions to be detected immediately.
Surface defects
An AI-supported detection process is used to evaluate surface quality. The system analyzes the texture of the component and identifies even subtle irregularities or deviations. Since the AI is trained exclusively with good parts, the method is particularly robust, quick to implement, and ideal for product portfolios with a wide range of variants.
Analyses, trends, and test reports can be accessed at any time using the autfactory testing software.
Before resources are invested in the full implementation, all open questions should be resolved. We test the requirements (components) on our own plant (proof of concept, POC).
Our team of experts has extensive experience and the necessary equipment to carry out feasibility studies. This gives you security. POCs help identify challenges early on so that appropriate action can be taken.
Learn more about feasibility studies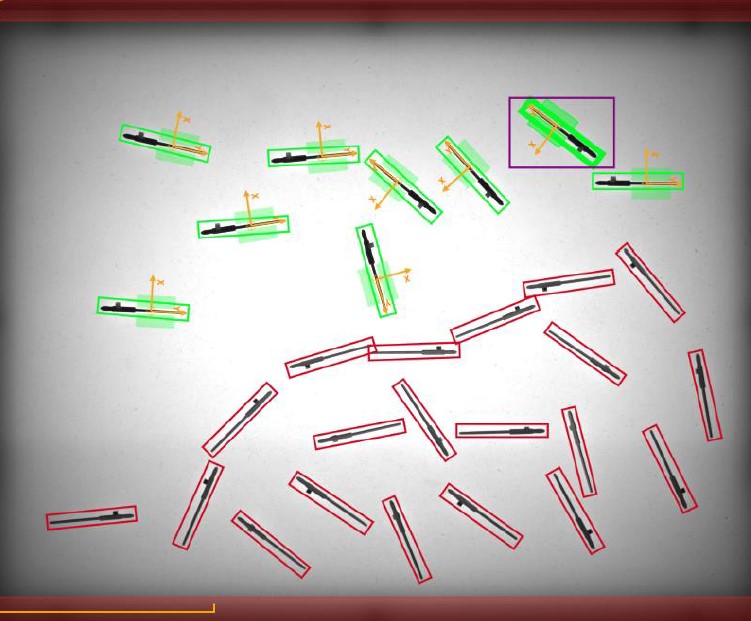
Experience the system live – arrange your on-site appointment.
At AUTFORCE, we specialize in test systems & industrial software. Get in touch with us. Together we will find the best solution for your task!
Christian Hanbauer
Expert Test Systems
+43 (664) 88 71 02 50
[email protected]
Get a non-binding initial assessment now: