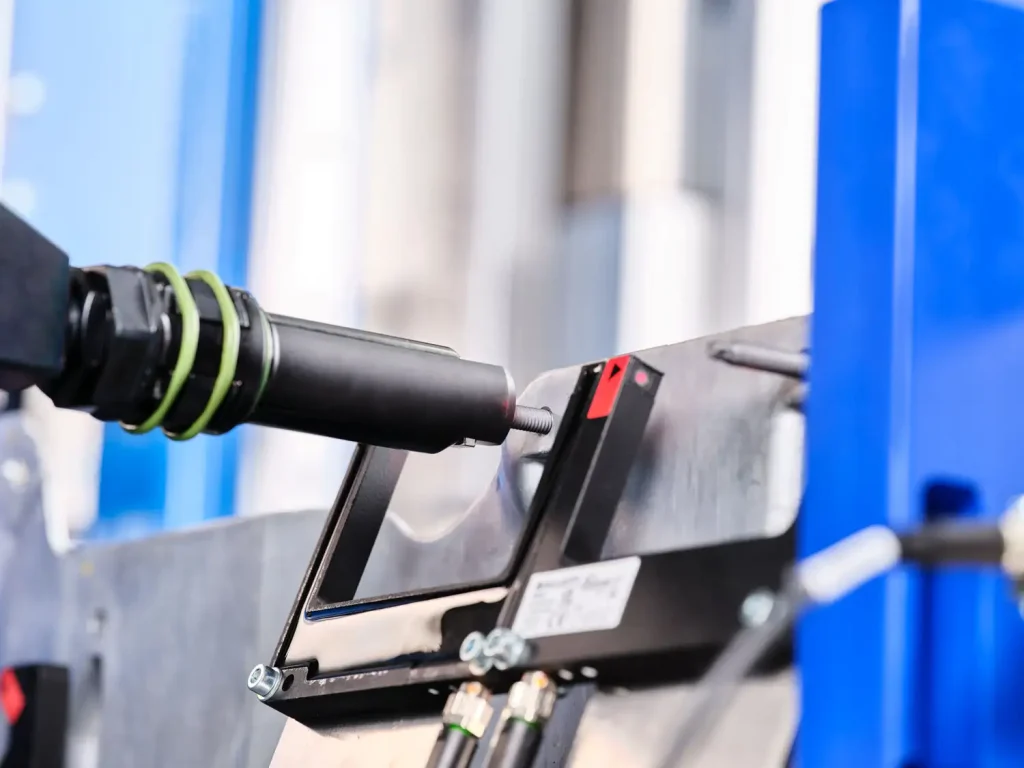
Measuring station and assembly station for die-cast parts

The project

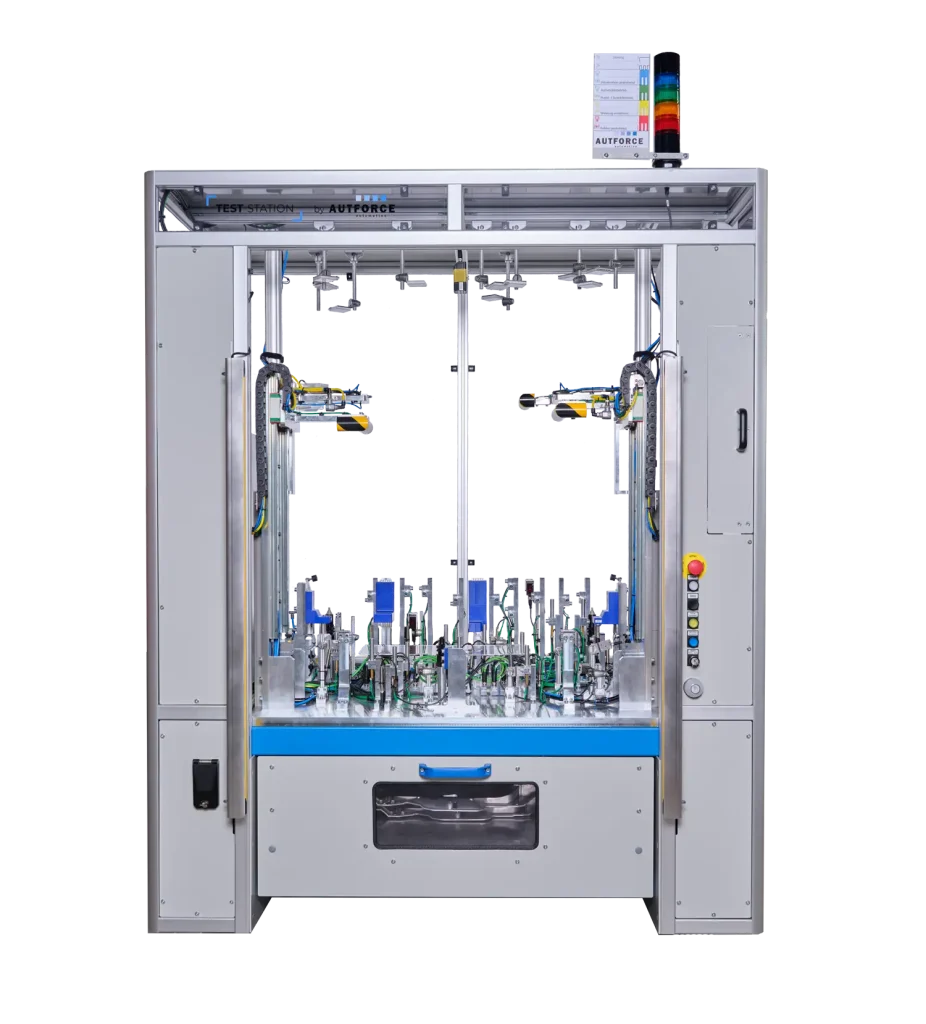
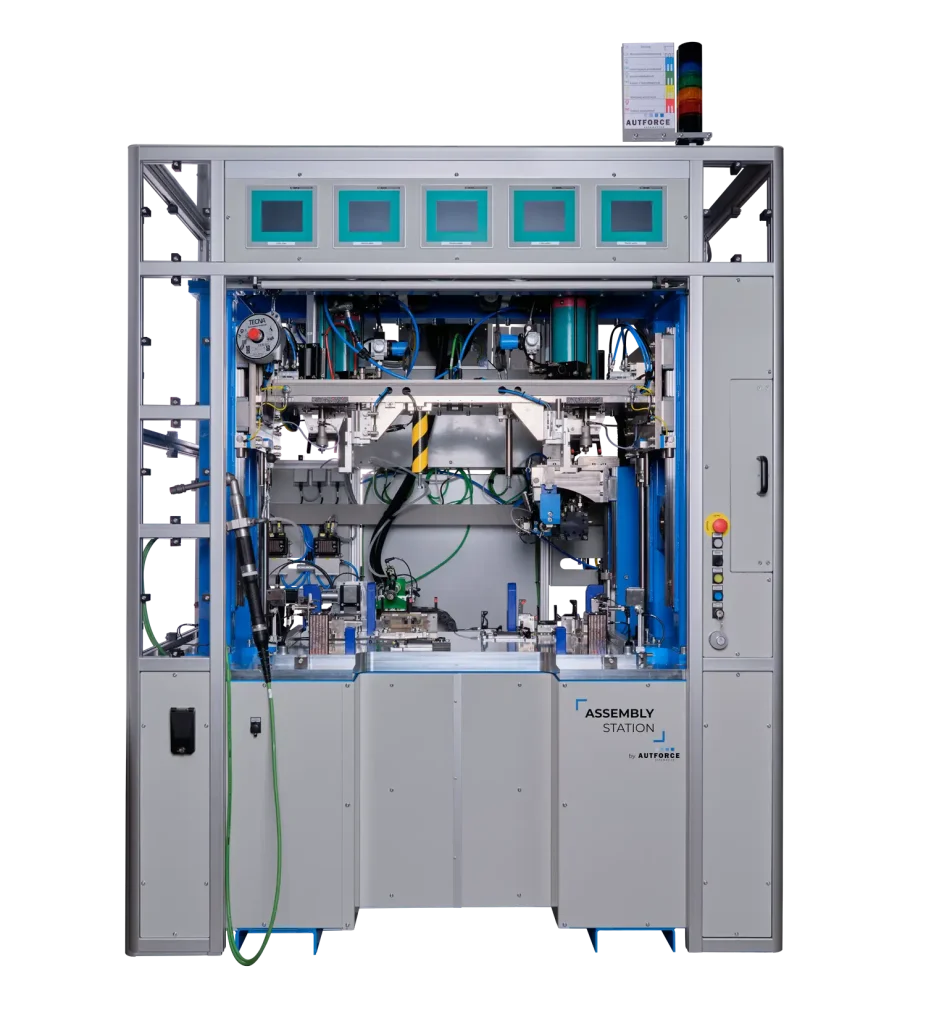
What can be done when each individual component is particularly costly to manufacture and errors in assembly can quickly lead to further costs? AUTFORCE has developed a suitable solution for a leading manufacturer of aluminum die-cast components: a testing system with two coordinated stations, a measuring station and an assembly station.

At the first station (measuring station or inspection fixture) each component is carefully checked for dimensional accuracy and completeness. Only then does assembly take place, during which bolts, screws, and brackets are added. Finally, the component is checked once again to ensure that the finished assembly meets all quality requirements. This double inspection process is particularly important for high-quality die-cast parts in order to avoid material and assembly costs in the event of a defect.

The progress of the project is particularly impressive: initial tests were carried out just four months after the order was received. After only six months, the entire system was ready for use and was delivered to the customer. This was made possible by a proven partner network, flexibility within the project team, and close coordination across all project phases.

Contact us
Key Facts

  • 2 stations: measuring station and assembly station
  • Component testing before and after assembly
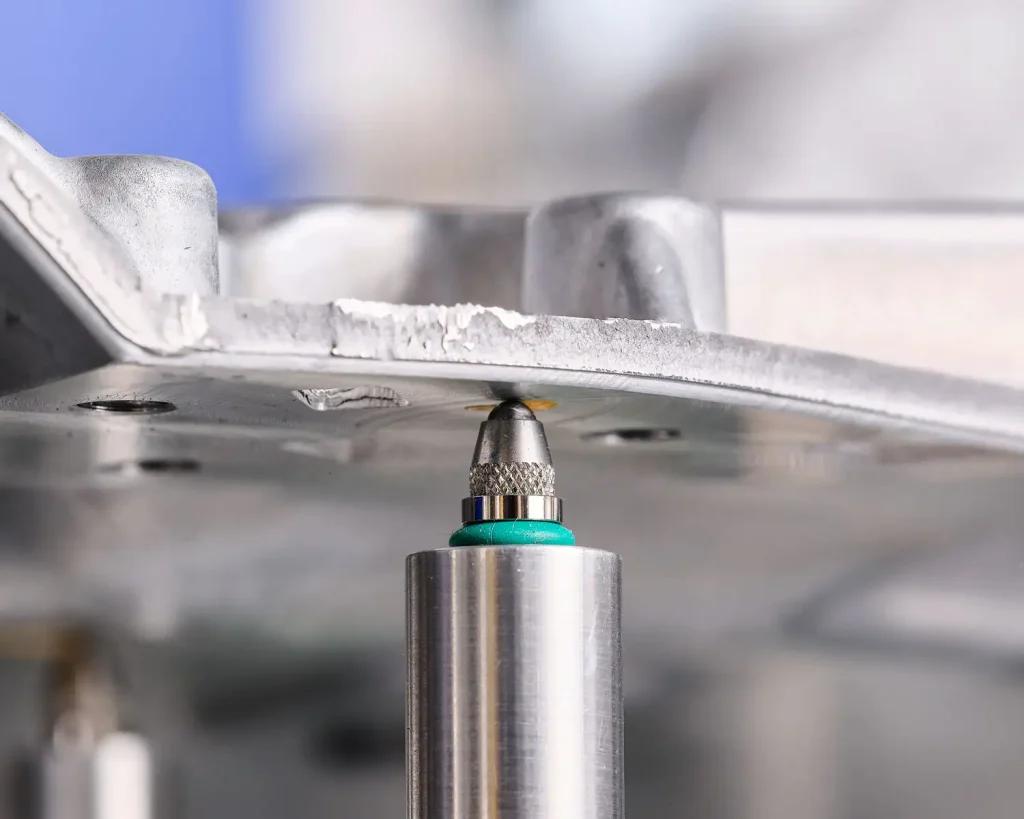
  • 27 tactile measuring points, tolerances up to ±0.2 mm
  • Combination of automated and manual assembly
  • Traceability: DMC code on every component
  • Initial tests after 4 months, delivery after 6 months

Testing and assembly process

Each aluminum die-cast part undergoes a standardized three-step process:

  • Initial inspection at the measuring station: Measurement and completeness check of the raw part
  • Assembly at the assembly station: automatic joining, screwing, and manual final assembly
  • Final inspection at the measuring station: final check of the assembled components

The double check ensures that only flawless parts are assembled and passed on, and that no deformations occur during assembly. Each component can be clearly traced via a data matrix code (DMC).

Inspection before assembly

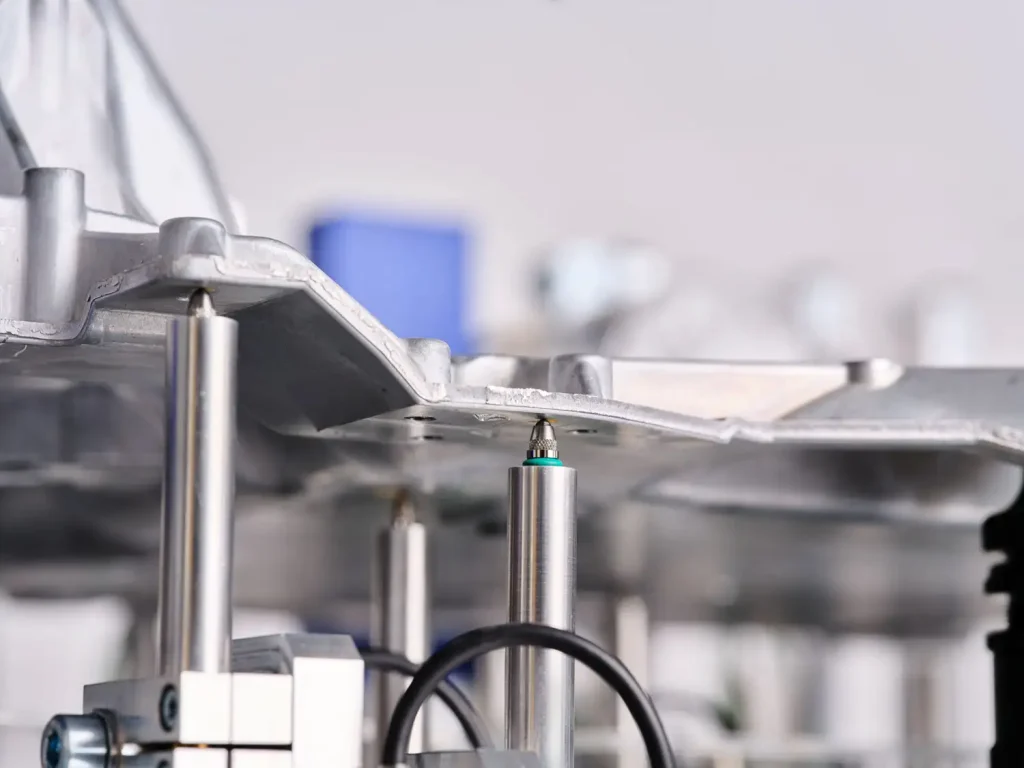
Before assembly, each component is checked for dimensional accuracy and completeness.
  • Insertion and positioning
    The component is inserted manually, positioned correctly, and checked by sensors to ensure it is seated properly.
  • Measurement points and tolerances
    A total of 27 measurement points are recorded, two of which have a particularly narrow tolerance of ±0.2 mm; laser and light sensors also check for completeness.
  • Automatic process with safety monitoring
    The testing process is fully automatic, while a safety light curtain secures the work area.
  • Transfer to the assembly station
    Only tested and fault-free components are transferred by the operator for assembly.
Contact us

Automated and manual assembly

The assembly process combines automated procedures with specific manual steps.

  • Inserting the component
    The operator inserts the component according to the markings, and sensors check the exact position.
  • Tensioning and start of assembly
    After leaving the work area, automatic tensioning and assembly are triggered by a start button, and safety devices protect the operator.
  • Pressing in pins
    Several pins are automatically pressed into prepared holes by pneumohydraulic drives. Force-displacement monitoring ensures that each pin is seated correctly and reliably.
  • Screwing together the components
    Some of the screws are first separated and fed automatically, then assembled automatically, while the rest are added manually by the operator. Sensors check that all screws are positioned correctly.
  • Completion and transfer to final inspection
    After assembly, the component is removed and transferred to the final measuring station.

Inspection after assembly

The final inspection ensures the quality of the assembled component. Only fully tested components are released for further processing.
  • Re-measurement of the 27 measuring points
    The measurement results are compared with the initial test to ensure dimensional accuracy.
  • Checking for the presence of all press-fit pins
    All press-fit pins are specifically checked and documented.
  • Measurement control with ±0.4 mm tolerance
    Two defined measurements are checked using differential measurement.
  • Checking the position and alignment of the brackets
    The correct position of the mounted brackets is checked one last time.
Contact us

Your advantages with AUTFORCE

Quick implementation

Thanks to a well-established partner network and a dedicated project team, the system was tested for the first time just four months after the order was received and was fully handed over to the customer after six months.

High process quality

Double measurement before and after assembly ensures consistently high quality and minimizes waste and rework.

Automated assembly

Automatic joining processes combined with manual final assembly enable efficient and precise production of complex components.

Traceability

Each component is marked with a DMC code, which ensures complete documentation and easy tracking.

operator safety

Safety light curtains and sensors protect the operator during automatic processes and ensure a safe workflow.

Ergonomic design

The stations are designed so that inserting and removing components is simple and user-friendly.

Learn more about measuring stations for die-cast components now!


Do you also need a solution in the field of measuring and assembly stations?

At AUTFORCE, we specialise in testing systems and industrial software. Get in touch with us. Together we will find the best solution for your project!

Christian Hanbauer
Expert Test Systems
+43 (664) 88 71 02 50
[email protected]

Get a non-binding initial assessment now:

Thank you!

We will come back to you as soon as possible