Multi-camera system
Optical blowhole inspection
with machine vision solution
with machine vision solution
are small shrinkage cavities that usually occur when hot steel cools down and solidifies. The fewer inherent shrinkage cavities, the better the quality of the cast product. Cast steel components have to meet the highest requirements as to quality and longevity. Blowholes can pose a serious threat to a component’s functionality; therefore affected parts must be sorted out during final inspection.
An Austrian producer of cast aluminium components was confronted with the above mentioned problem. Thanks to the successful cooperation with both AUTFORCE Vision Systems GmbH and AUTFORCE Automations GmbH it was possible to solve this problem to the customer’s ultimate satisfaction by deploying industrial cameras for multi-level image evaluation and codification.
The processed (milled) surfaces of castings (aluminum die casting, gravity die casting, sand casting, etc.) are inspected for shrinkage cavities and unevenness. If defects are detected, their size will be determined according to specifi cation. It can also be detected whether there are further defects within a specified radius or whether they are below a specified distance to each other or exceed a specified overall size. Further on, it is verified whether the shrinkage nests fall below a defined distance to each other, or exceed a defined total size.
With a component size of 350 x 400 mm, reliably detecting blowholes as small as 0.4 mm presents some challenges. Not only the size of the blowholes, but also the minimum roughness of the components in the active and passive sealing areas are extremely complex requirements. For image acquisition, the machining trace of the surfaces (e.g. milling grooves) must also be taken into account.
Thanks to splitting the image among multiple cameras, distortion is reduced and optical resolution is increased. The lighting dome provides optimal illumination.
This solution was an absolute innovation, because we didn’t know any system on the market that could automatically detect such small shrinkage cavities for a given component size.
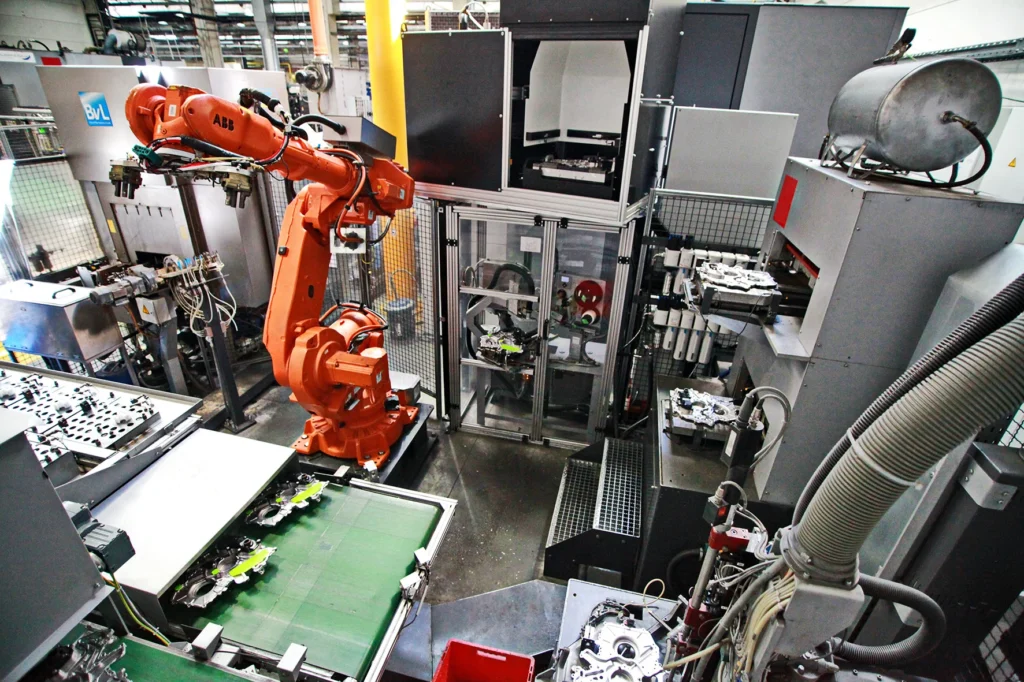
Contact usThe testing facility can either be integrated with interlinked units, robot units, or it can be delivered as stand-alone module. Depending on individual requirements we can offer a complete automation of the system.

At AUTFORCE, we specialize in testing systems & industrial software . Get in touch with us. Together we will find the best solution for your project!
Christian Hanbauer
Expert Test Systems
+43 (664) 88 71 02 50
[email protected]
Get a non-binding initial assessment now: